MotoOnline.com.au takes you through the process step-by-step how to clean your moto boots.
When it comes to motocross, its doing motos that is by far the fun part. When it comes to cleaning up afterwards, getting rid of the mud on your ride and gear can be a lengthy process. In MotoOnline.com.au’s first instalment of Fast Fixes, we take a look at five easy steps on how to clean boots – which are especially painful when you’re rocking the white boots that so many of us are keen on!

The fun begins...
STEP 1:
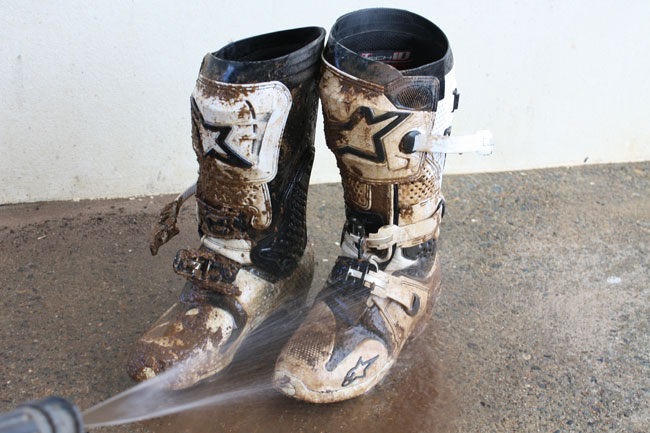
One of the most vital things to keep in mind after a hard day of doing motos is that the longer you take to clean your equipment, the harder the process is going to be. If the mud is caked on as per our Alpinestars Tech 10 boots, your best bet is to source a high pressure washer to get the job done. Use the one at the local car wash if you have to. Start by a lower pressure soaking for the boot and leave them for a couple of minutes to let the water start eating away at the dirt.

A low pressure rinse to soak the boots is going to get you off to the right start.
STEP 2:
Once you soak the boots and give them the first spray with high pressure, ensuring that the majority of the heavy mud has been cleaned away (don’t forget the soles!). You then want to buckle them up and apply a solid amount of degreaser to assist in breaking down any oils, chain lube or general wear and tear that your boots may have copped. Again, once the degreaser is applied, let them sit for a couple of minutes so it really soaks in. Gumption all-purpose cleaner is also handy in this step if you have any.

A good dose of degreaser will help remove any oil or tough dirt.
STEP 3:
Once you’ve let the degreaser soak in and then have blasted it off with the pressure washer, you then want to apply warm soapy water before scrubbing the boots. This will especially help in the hard to reach places and also works wonders for when you’re trying to remove any black marks on the inside of the boot where it makes contact with your bike.

Apply soap and scrub away any extra dirt that's spotted on the boot.
STEP 4:
Now that you’ve soaked them, degreased them and given your boots a good scrub with a brush, it’s important to be extra precise in the final high pressure wash. This is where you’ll catch any last pieces of mud that are hiding under the buckles or underneath the sole. The closer you get to the boot with the high pressure washer then the cleaner they’ll turn out, however you do have to be careful when spraying some of the softer sections of the boots.

The final spray with high pressure is the most vital one of the entire process.
STEP 5:
Once finished with the pressure washer and the chemicals, be sure to place your boots outside in fresh air, out of direct sunlight to dry. Open up the buckles and remove the inner-booty if your boots have them, ensuring they’ll be completely dry in time for your next moto. Nine times out of 10 you’re nice and clean boots will be ready to wear again by the next day as long as you don’t spray water directly into them!

Once you're done, be sure to air your boots outside and they'll be set for your next ride!
For further information on the Alpinestars Tech 10 motocross boots, be sure to check out our product review right here in the Product Centre on MotoOnline.com.au.


